Sift and Separate: Sift the extra-fine semolina (Fino) and all-purpose flour into a large mixing bowl. Add the yeast to one side of the bowl, and the salt to the exact opposite side. (Crucial: Do not let the raw salt and yeast touch before mixing! Salt can kill the yeast and prevent your bread from rising).
The Hydration & The Oil Coating: Begin mixing your dry ingredients (either by hand or with a dough hook). Gradually pour in your warm water bit by bit. Continue kneading until a smooth, cohesive dough forms with no dry flour remaining at the bottom of the bowl. (Watch the dough closely, you may not need the full 300ml!). Once beautifully smooth (check out the quick video above to see the exact dough texture you are looking for!), rub two drops of vegetable oil over the outside of the dough ball so it won't get sticky later. Cover the bowl and let the Batbout dough rest for 30 minutes.
Roll and Relax: After 30 minutes, punch the dough down to release the trapped air and divide it into 4 equal balls. Tuck the edges underneath using your hands to create a tight, smooth surface. Cover the balls with a clean towel and let them rest for exactly 5 minutes. (Do not skip this! Check the "Resting Rules" in Mama's Tips & Notes section in the post above to see why this quick pause stops your semolina pan bread dough from stubbornly "fighting back"!).
Flatten and the Final Rise: Dust your clean work surface with a little extra Fino. Pat each dough ball into a small, round flatbread disc, dusting with Fino so it doesn't stick (watch the video to see exactly how thick to make them!). Cover the discs and let them rest for 10 minutes to puff up. (Tip: Make sure to use a light, clean kitchen towel to cover them! A heavy blanket will literally crush the dough and destroy the volume of your easy stovetop bread).
The Stovetop Sear: Heat a heavy Moroccan farah or cast-iron skillet over medium heat. Right before adding the dough, melt a tiny touch of butter in the center of the pan. (This is Mama's ultimate secret: the sizzling butter gives the bread an irresistible flavor and a beautiful golden, blistered crust!). Carefully place a flattened disc in the pan. Once tiny bubbles appear and the top surface loses its raw moisture, immediately flip it over.
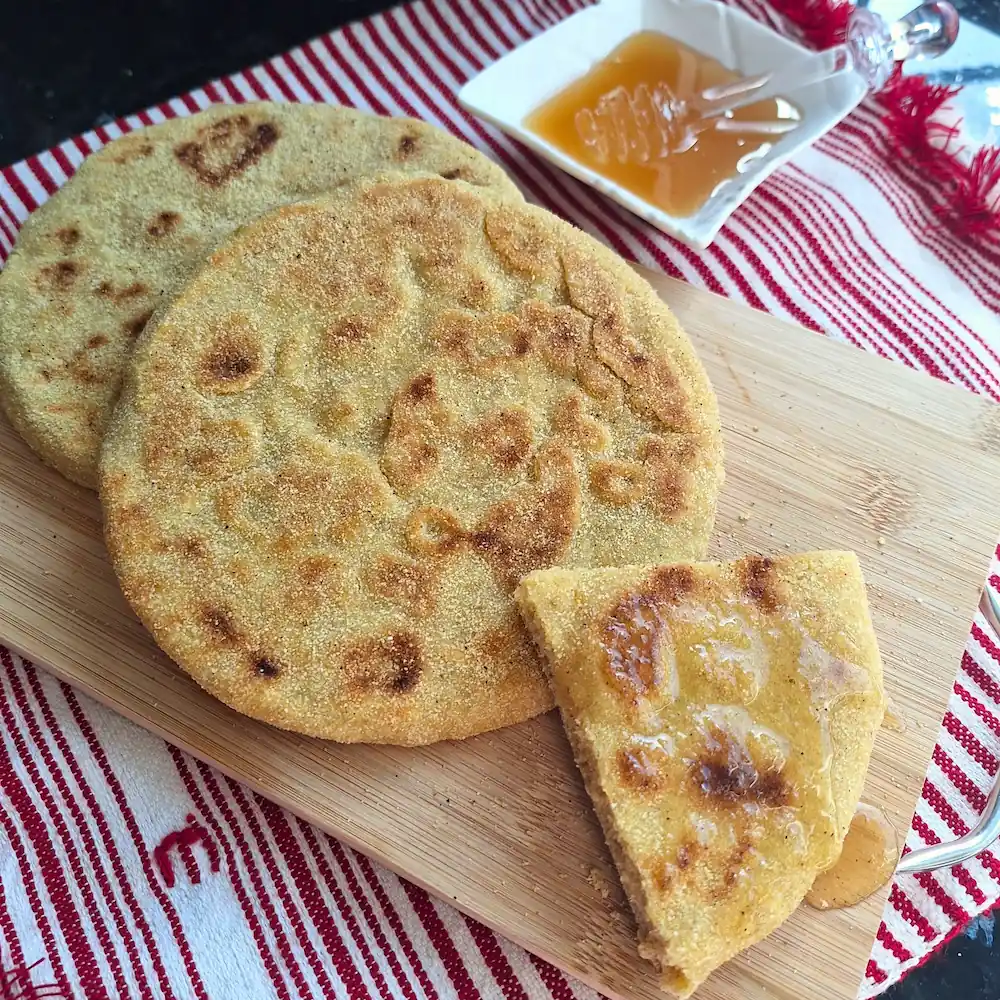
Puff and Cool: Let the second side cook until the bread magically puffs up like a balloon to create that iconic Moroccan pita bread pocket! Flip it back and forth for a few seconds until both sides are perfectly golden. Remove from the heat, but do not stack them! (Check the FAQ section above to see exactly how to cool and store these flatbreads so they stay meltingly soft).